How to Improve Your Spacebar CPS: The Complete Guide
You have been stuck at the same score for weeks. You know you are faster than that number. You run a test, get 7 CPS, try again, get 7.2, then 6.8. Nothing moves.
That is not a talent problem. It is almost always a technique or training problem, and both of those are fixable.
This guide goes deeper than the basics. No generic 'just practice more' advice. We cover why plateaus actually happen at a biological level, which keyboards genuinely change your ceiling, a proper warm-up protocol with specific steps, the ergonomic details behind each clicking position, and a 4-week plan with daily structure that is actually built around how muscle memory forms.
Before you start, run your 5-second, 10-second, and 30-second baselines using the spacebar click speed test and write those numbers down. You need a real starting point before any training plan means anything.
Why Your CPS Stops Going Up (And It's Not What You Think)
Most people assume a plateau means they are at their natural limit. That is rarely true at the 6–10 CPS range, where most people get stuck.
What is actually happening is usually one of three things.
- Muscle memory is running the wrong pattern. When you have been clicking the same way for a while, your nervous system locks in that movement as the default. If your default includes unnecessary tension, vertical movement, or inconsistent thumb contact, muscle memory is now working against you. You are not reinforcing speed; you are reinforcing a capped technique.
- Tension is the hidden cap. This one surprises people. When you push to go faster, the instinctive response is to tense up, press harder, grip the keyboard edge, and tighten your wrist. All of that kills speed. Fast clicking requires loose, relaxed muscles. Tension shortens your range of motion and delays the bounce-back after each press. If your forearm feels tight during a session, that is the cap, not your fingers.
- You are training inconsistently without realising it. If you run one fast test, rest, run another, compare just the peaks, and call that progress, you are training for nothing. Real speed development requires consistent repetitions at sub-maximum effort, the same way any other motor skill is trained. Sprinting every single rep does not build runners. It builds people who are good at one-off sprints and bad at everything else.
Fixing any one of these three things will move your number. Fixing all three will move it a lot.
Your Keyboard Is Either Helping or Hurting You
Your choice of hardware plays a significant role in determining your ultimate clicking speed. A standard keyboard layout is not neutral; it introduces specific mechanical and physical barriers or advantages that directly influence your realistic CPS ceiling. The variance in key travel distance and resistance across different models impacts your speed more than most people expect.
What Actually Matters: Actuation Force and Travel Distance
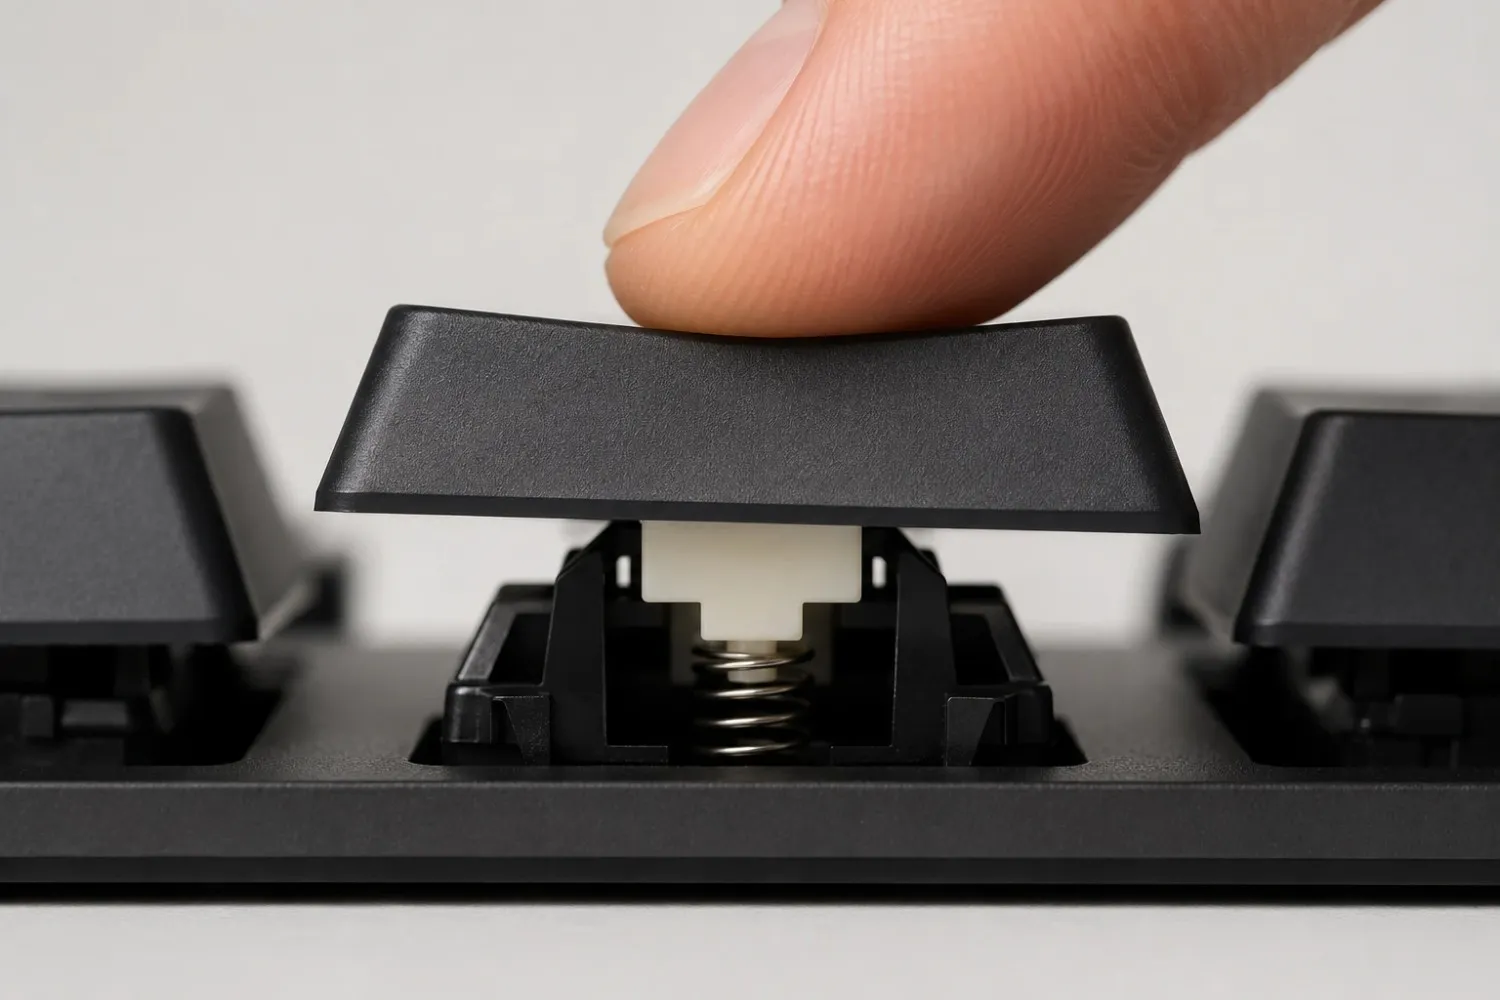
Every keypress has two variables that determine how fast you can realistically click: how hard you have to push (actuation force) and how far the key has to move before it registers (travel distance). Lower on both means a faster potential ceiling.
Laptop keyboards typically have 1.0–1.5mm of travel and actuation forces around 45–55g. That sounds short, but the shallow travel means the key bottoms out almost immediately, creating a stiff, bouncy feel that works against rapid re-presses.
Standard membrane keyboards sit at 2.0–2.5mm travel with actuation forces of 45–60g. Slightly deeper travel than laptop boards, same stiffness problem.
Mechanical keyboards with linear switches, Cherry MX Red, Gateron Yellow, or equivalents, have 2.0mm pre-travel before actuation and actuation forces as low as 35–45g. That lower force threshold is what makes them faster for clicking. You are doing less physical work per press, which means less fatigue and higher sustainable CPS over longer tests.
Tactile switches (Cherry MX Brown, Gateron Brown) have a bump in the travel that you feel before the actuation point. For typing, that feedback helps. For spacebar clicking, it adds resistance right where you want none. Most people who switch from tactile to linear see an immediate improvement of 0.5–1.5 CPS without changing anything else.
Clicky switches (Cherry MX Blue) are the worst option for spacebar speed. The click mechanism adds a reset delay. Skip them.
The Stabiliser Problem Nobody Talks About
The spacebar is the only key on your keyboard with stabilisers, metal wire bars inside the keycap that keep both ends of the key level when you press it. On budget keyboards, those stabilisers rattle and bind. A rattly spacebar adds friction to every single press.
You can fix this. Lubing the stabiliser contact points with dielectric grease or a purpose-made stabiliser lube takes about 15 minutes on a mechanical keyboard and removes a significant amount of resistance. On membrane keyboards, it is harder to access, but the principle is the same. If your spacebar wobbles or feels stiff on one side, the stabiliser is affecting your score.
The Honest Bottom Line on Hardware
A better keyboard will not turn a 5 CPS clicker into a 12 CPS clicker overnight. But if your current board has heavy stabilisers, a stiff spacebar, or a high actuation force, it is a cap on your ceiling. You can train around it to a point. At some point, the hardware is the problem.
For most people, the realistic upgrade path is: fix your technique first, then reassess whether the keyboard is still the limiting factor.
The Warm-Up Protocol (With Specific Steps)
Clicking cold is one of the most common reasons people underperform on their first test of a session. Cold muscles and tendons move more slowly and fatigue faster. The fix is a structured warm-up, not just 'click a bit before your real test.'
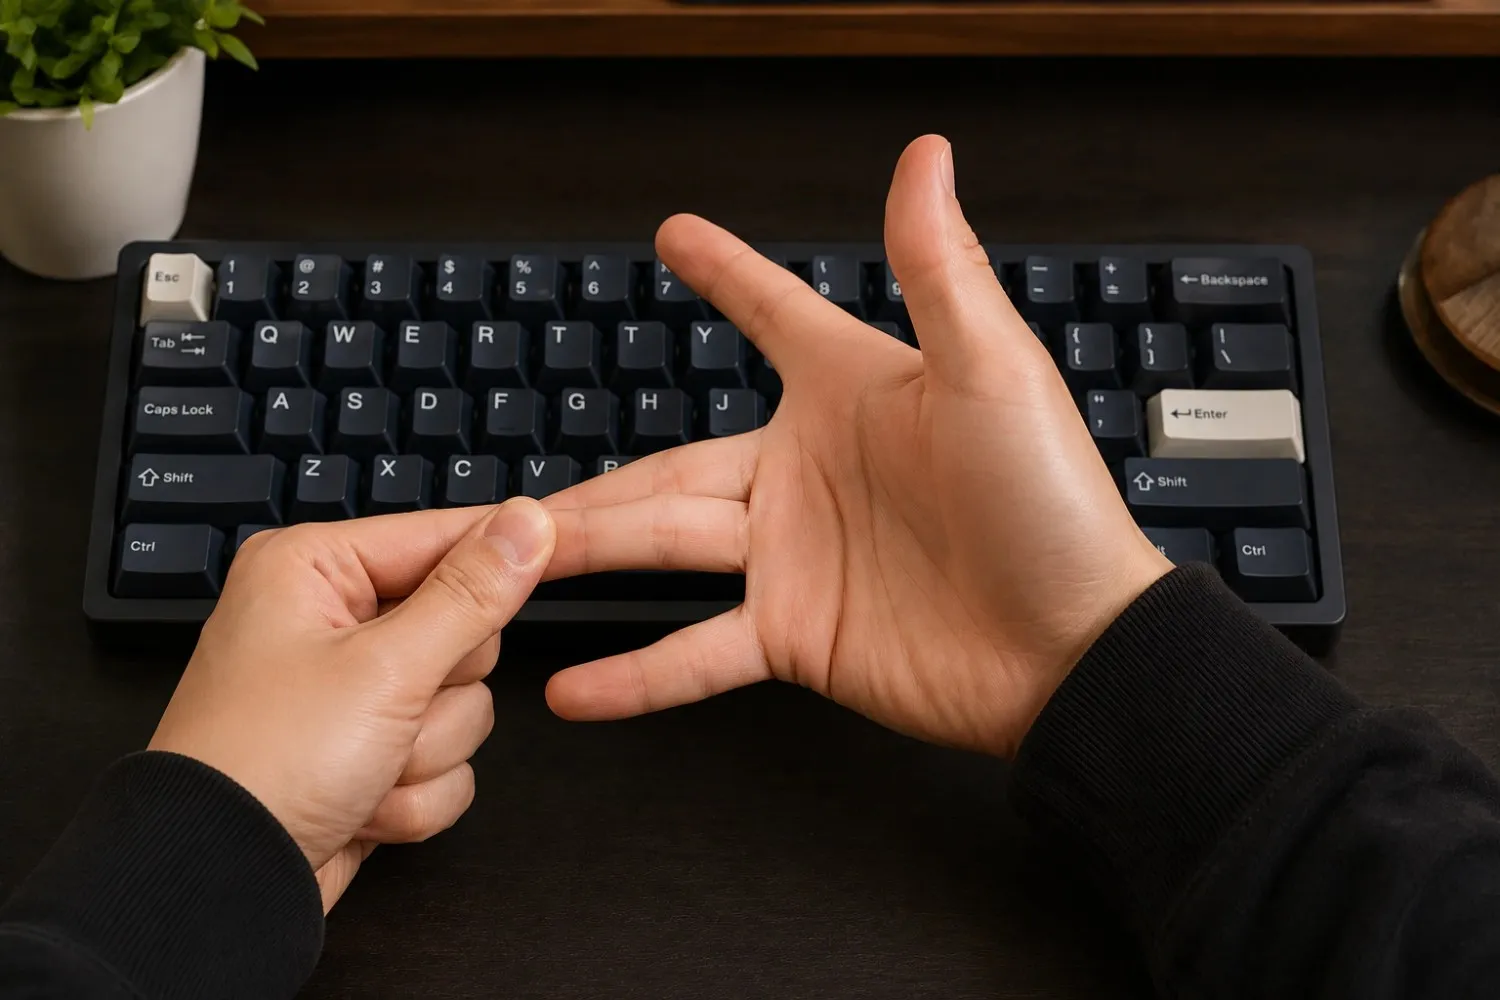
Here is the exact protocol. It takes about six minutes total.
- Step 1: Light clicking, 3 minutes at 50% effort. Open the speed test and run 30-second sessions at roughly half your usual pace. The goal here is not to score; it is blood flow. You are warming the tendons in your thumb and the intrinsic muscles in your hand, not training speed. Do not push.
- Step 2: Moderate clicking, 2 minutes at 80% effort. Now run 10-second sessions at about 80% of your peak pace. This is where you want to feel the rhythm settle. Your contact point should feel natural by the end of this step. If it does not, slow down and focus on where your thumb is landing, not how fast.
- Step 3: Finger independence exercises, 1 minute. Put the keyboard aside for this. Spread your fingers wide, hold for three seconds, then curl them loosely into a fist. Repeat ten times. Follow that with individual finger taps on a flat surface, tap each finger one at a time, thumb to pinky, as fast as you can while keeping the others still. This wakes up the finger independence pathways that clicking relies on.
Then test. Your first real session after this protocol will almost always score higher than cold clicking.
One note on session length: hand fatigue sets in faster than most people expect, especially at intensity. Clicking sessions should stay under three minutes at peak effort. Take at least a two-minute break between sessions. Ignore this, and you will not just plateau; you will score lower the longer you go.
The Ergonomics Behind Each Clicking Position
The homepage covers the four main clicking techniques by name. This section explains the biomechanics, why each works, when each one breaks down, and which RSI risks come with each approach.
Thumb Tip vs Thumb Pad: The Difference Is Real
Most people instinctively use the flat middle of their thumb. It works, but the outer edge of the thumb closer to the nail gives a faster, cleaner contact point.
Here is why. The pad of your thumb has more soft tissue between the bone and the key. That cushioning absorbs some of the return force and delays the bounce-back. The tip, closer to the nail, is firmer. Less energy is absorbed, which means the key rebounds faster, and you can press again sooner.
You can test this in thirty seconds. Run a 5-second test with your pad, then run one with your tip. Most people see a 0.3–0.8 CPS difference immediately, before any practice. That is not a small gap.
For long sessions (30 seconds or more), the tip can fatigue faster because the contact area is smaller. Most experienced clickers use the tip for short burst tests and shift toward the pad for endurance tests. Learning to switch between them consciously is a real skill.
Wrist Elevation and Elbow Angle
Wrist elevation is something most guides ignore completely. If your wrist is flat on the desk with your hand angled upward to reach the spacebar, you are working against your own tendons. The optimal wrist position is slightly elevated, about 10 to 15 degrees off the desk surface, with your elbow at roughly 90 degrees.
If your chair is too low, your elbow drops below desk height, and your wrist compensates by bending upward. That bend restricts blood flow to the tendons and accelerates fatigue. If your chair is too high, your shoulder rises and your forearm angles downward, which puts the weight of your arm on your wrist during clicking.
Fix the chair height so your elbow sits level with or slightly above the desk. Then check that your keyboard is flat, not angled. Keyboard wrist rests help some people and hurt others. If a wrist rest forces your wrist into a bent position, remove it.
Two-Finger Alternating: When It Helps and When It Hurts
Alternating between your index finger and middle finger can push CPS higher in short bursts because you are effectively halving the recovery time for each finger. The problem is coordination. If your alternation rhythm is uneven, one finger slightly ahead of the other, the keypress events are uneven, and the CPS counter will not reflect your actual maximum.
Use two-finger alternating only if you can keep the rhythm completely even. Test by tapping on a hard surface and listening: you want a perfectly consistent tick-tick-tick sound, not a tick-tick or tick-tick pattern. If you cannot hit that consistency yet, stick to thumb clicking and come back to this technique once your rhythm is solid.
RSI Prevention
Rapid clicking puts repetitive strain on the extensor tendons in your thumb and the flexor tendons in your wrist. The warning signs are a dull ache at the base of the thumb, pain when extending the thumb after a session, or a burning sensation along the forearm.
If you feel any of those, stop. Take a full rest day. Ice the area for 15 minutes. If it persists beyond two days, see a professional before continuing any training.
Prevention is simple: keep sessions short, take real breaks, stop when your speed starts dropping (that is, your body flagging fatigue, not bad luck on a test), and do the warm-up protocol above consistently.
The 5 Mistakes That Actually Cap Your Speed
Each of these has a specific fix. The mistake is not the whole story; the drill is what matters.
- Mistake 1: Clicking with tension. You can feel this if your forearm is tight during a session.
Fix: before each test, shake your hand loosely for five seconds, let your wrist go completely limp, then start. The moment you feel tension creeping back in, stop and repeat the shake. Do this every session for a week, and your baseline will shift. - Mistake 2: Vertical movement in your thumb. If your thumb is lifting high between presses, you are adding travel that costs time.
Fix: Place a small piece of tape on your thumbnail and watch it in a mirror while clicking. If you see it rising more than a few millimetres between presses, you have a vertical movement habit. Practice slow, minimal-movement presses for 10 minutes a day until the habit breaks. - Mistake 3: No tracking between sessions. If you are not writing down your scores, you cannot identify whether your training is working.
Fix: after every session, note the date, timer mode, and score in a simple log. Even a phone note works. After two weeks, you will see whether a particular change helped or not. - Mistake 4: Wrong thumb contact point. Covered in the technique section above, pad vs tip.
Fix: run three tests with pad, three with tip, average each group, and switch to whichever produces higher scores for your hand. - Mistake 5: Inconsistent keyboard position. A keyboard that slides or shifts between presses adds micro-corrections that cost rhythm and speed.
Fix: Place a non-slip mat under your keyboard. It costs almost nothing and removes a variable you probably have not been accounting for.
4-Week Progression Plan
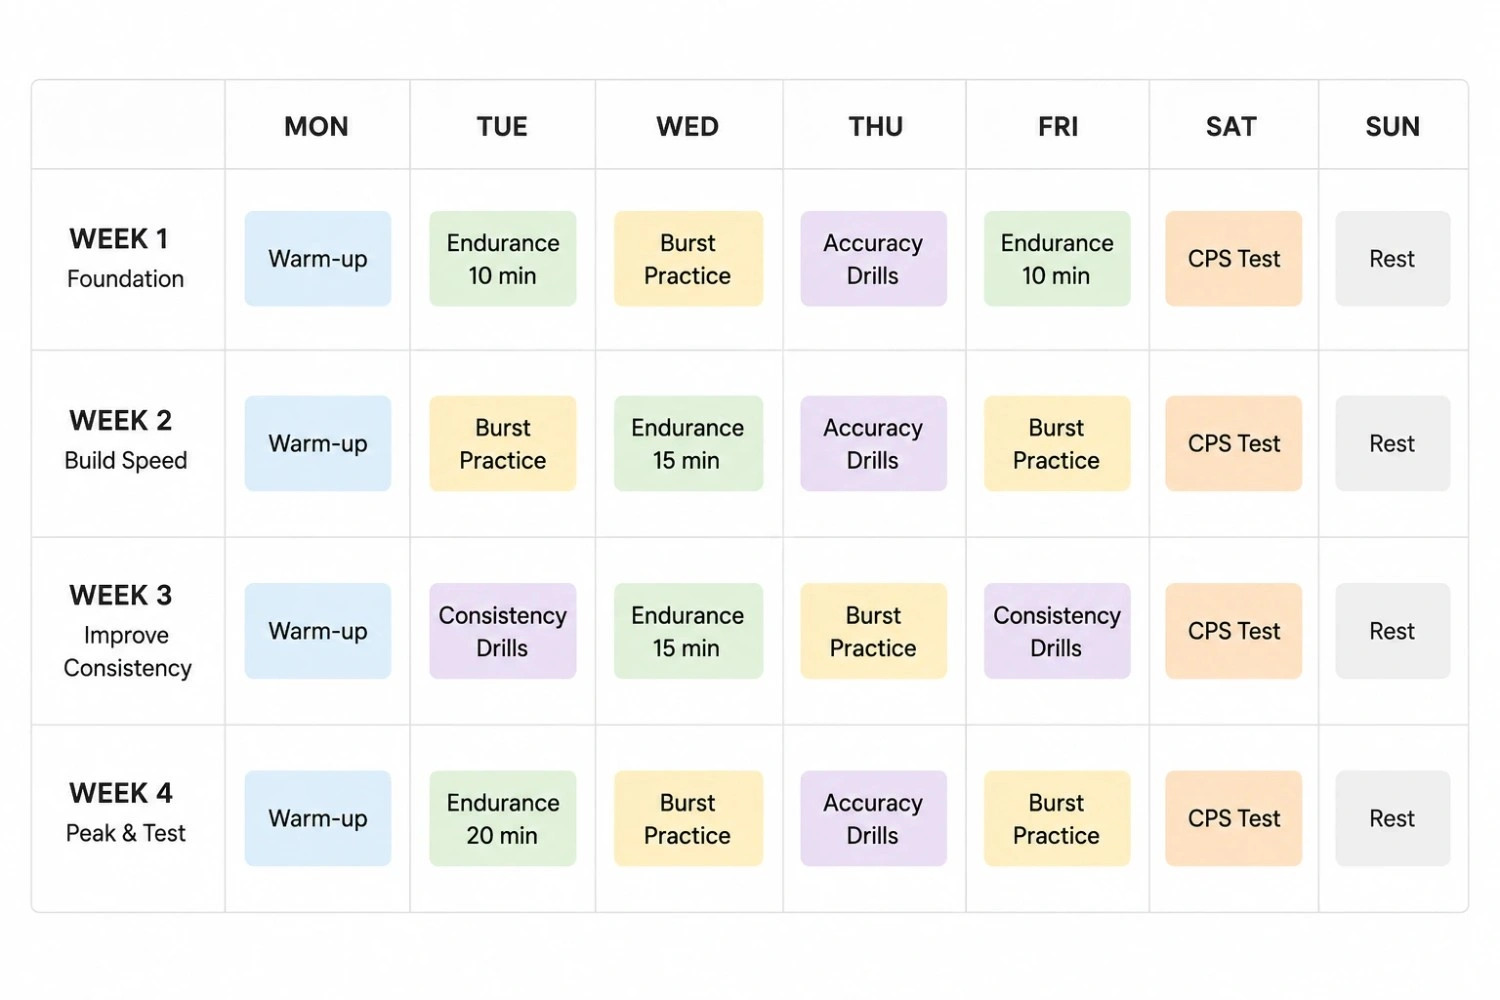
This plan builds CPS the way any motor skill builds: consistency first, then speed, then endurance, then integration. Jumping straight to speed work without a consistent foundation is why most self-directed training fails.
Each session should last no more than 20 minutes, including warm-up and breaks. More is not better. Tendon recovery happens outside the session, not during it.
Week 1: Consistency Foundation
The goal this week is not speed. It is repeatability.
Run the warm-up protocol above. Then run five 10-second tests at 70% of your current max CPS. Record every score. Your target is to get all five tests within 0.5 CPS of each other, not to go fast, but to go even.
Do this once a day, every day. By day 7, your five-test variance should be noticeably tighter than on day 1. That tightness is your nervous system locking in a consistent movement pattern. Speed builds on top of that pattern. Without it, speed training just reinforces inconsistency faster.
Week 2: Burst Development
Now you push. Run the warm-up. Then run five 5-second tests at full effort. Record every score. At least one rest minute between each test.
The 5-second test shows your burst ceiling. This week, you are trying to push that ceiling up, one test at a time. You may not see daily gains; that is normal. You are looking for the trend across the week to show upward movement from day 1 to day 7.
Alternate between full-effort 5-second tests and slow 30-second consistency tests in the same session. The contrast between the two trains your nervous system to shift gears, something that becomes important in longer tests.
Week 3: Endurance Work
Your burst speed will have improved. Now you need to hold it for longer.
Run 30-second tests this week. Record your start CPS (average of the first 5 seconds), mid CPS (average of seconds 10–20), and end CPS (average of the last 5 seconds). For most people, the end score drops noticeably. That drop is your endurance gap.
To reduce it: run 30-second tests and actively focus on maintaining rhythm through the final 10 seconds. Not going faster, maintaining. Think about keeping your thumb contact point consistent as fatigue sets in, rather than just grinding through.
Week 4: Peak Testing and Integration
This week, you run everything. Start with a 5-second burst test (your new ceiling). Then a 10-second test (your working pace). Then a 30-second test (your endurance pace). Then a 60-second test.
Compare your results against your starting baselines from before Week 1. Most people who follow the plan correctly see 1–3 CPS improvement across the 10-second test, and a much smaller drop between burst and endurance scores. If you want to understand how test duration changes your CPS score, that breakdown is worth reading alongside this plan.
After Week 4, return to consistent work whenever your score stagnates again. Plateau cycles are normal. The answer is always the same: back to basics, tighten the inconsistency, then push speed again.
Gaming-Specific Drills
Generic clicking practice helps. Game-specific practice helps more because it trains your nervous system for the exact conditions it will face in real sessions.
Geometry Dash: Timing Accuracy Drill
In Geometry Dash, the spacebar is the primary jump key. The challenge is not raw CPS; it is clicking at exactly the right moment, repeatedly, under pressure. A player with 7 CPS and perfect timing will outperform a player with 10 CPS and inconsistent rhythm.
The drill: play a level you can nearly complete on a standard keyboard. Every time you die on a rhythm section, run a 5-second spacebar test immediately before the next attempt. This forces you to carry the fresh clicking rhythm directly into gameplay. Players who use this sequence test immediately followed by an attempt report that their rhythm synchronisation improves faster than either activity done in isolation.
Minecraft PvP: Burst Clicking Under Pressure
Minecraft PvP requires short, aggressive burst CPS during combat. The issue most players have is that their burst clicking in an actual match is lower than their test score, because combat involves simultaneous mouse control, keyboard movement, and visual processing.
The drill: isolate the spacebar completely. Run ten 3-second burst tests in a row with only a 10-second rest between each one. Log every score. Your goal is to keep each score within 1 CPS of your personal best, despite the accumulated fatigue. When you can hold that across all ten, your burst capacity is stable enough to survive competitive match conditions.
The short-rest burst series more closely mirrors the actual demand structure of a fight than standard long-gap test practice does.
FPS Games: Reaction Warmup Routine
In FPS games, the spacebar typically handles jumping or crouching, quick, reflexive presses rather than sustained clicking. The training focus shifts from CPS to reaction consistency.
Use the spacebar test as a pre-session warm-up only, not as a scoring exercise. Run a single 10-second test at around 75% effort to warm the tendon and prime the movement. Then go directly into your game. The goal is not to push your score; it is to arrive at your first match with a warm thumb and an active clicking reflex rather than a cold one.
Conclusion
Improving your spacebar CPS is genuinely trainable. The ceiling is higher than most people realise, and it is seldom a genetic limit that stops them. It is a technique, hardware, recovery, and training structure.
Fix the tension. Check your keyboard. Run the warm-up. Follow the 4-week plan. Drill for your specific game if that is why you are here.
Then run your baselines again and compare. The numbers will move.
FAQs
Can you actually train your spacebar CPS, or is it genetic?
Mostly trainable. Genetics sets a small ceiling difference between people, but technique, tension, and consistent practice account for most of the gap between an average score and a high one.
How long does it take to see improvement?
Most people notice a measurable difference within 1–2 weeks of consistent practice, with bigger gains showing up by the end of the 4-week plan.
Does keyboard type really change your CPS?
Yes, to a degree. Linear mechanical switches with lower actuation force generally allow faster, less fatiguing presses than membrane or laptop keyboards, but technique still matters more than hardware.
Is it bad for your hand to click fast for long periods?
It can be if you skip warm-ups and rest. Short sessions with breaks are safer than long, uninterrupted ones, and any persistent pain is a signal to stop and recover.
Run your baselines now
5s, 10s, and 30s tests — write the numbers down and start Week 1.
Open the Speed Test